

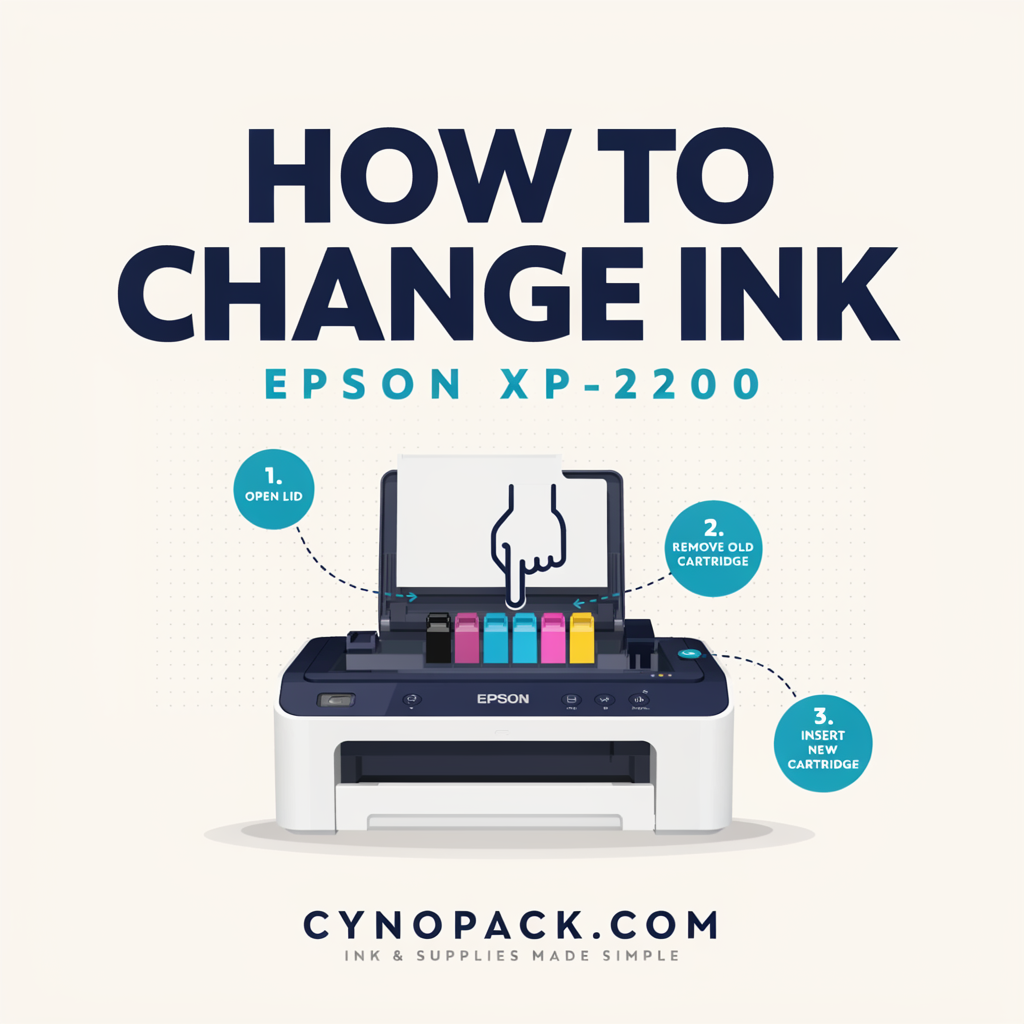
Learning how to change ink in an Epson XP-2200 is straightforward once you understand the printer’s ink light and Stop button. Because the XP-2200 does not have an LCD screen, it uses its control-panel lights and buttons to identify an empty or low cartridge and move the cartridge holder into the correct position.
This guide explains how to replace an empty Epson 604 or 604XL cartridge, how to change a cartridge before it is empty, which cartridges fit the XP-2200 and what to do if a newly installed cartridge is not recognised.
Quick answer: Switch on the XP-2200 and open the scanner unit with the document cover closed. Use the Stop button to move the cartridge holder, remove the affected cartridge, prepare the new cartridge correctly, press it into the matching colour slot until it clicks, close the scanner unit and press Stop again to begin ink charging.
how to change ink in Epson XP-2200
Which Ink Cartridges Does the Epson XP-2200 Use?
The Epson Expression Home XP-2200 uses cartridges from the Epson 604 “Pineapple” family. It accepts both standard Epson 604 cartridges and high-capacity 604XL cartridges.
The printer uses four separate colours:
| Colour | Standard 604 code | 604XL code | Cynopack compatible 604XL estimate |
|---|---|---|---|
| Black | T10G1 | T10H1 | Up to 500 pages |
| Cyan | T10G2 | T10H2 | Up to 350 pages |
| Magenta | T10G3 | T10H3 | Up to 350 pages |
| Yellow | T10G4 | T10H4 | Up to 350 pages |
Page yields are estimates based on applicable testing conditions. Actual yield varies with page coverage, print settings, document type, cleaning cycles and printer use.
Epson 603XL and Epson 604XL cartridges are not interchangeable. Always confirm that the product says 604 or 604XL and lists the XP-2200 as a compatible printer.
You can browse all Cynopack compatible Epson 604XL Pineapple cartridges before beginning the replacement.
What You Need Before Replacing the Cartridge
Prepare the following:
- The correct Epson 604 or 604XL replacement cartridge
- A clean, stable working area
- A sheet of plain paper for a nozzle check or test print
- The printer switched on and connected to power
- A small disposable bag for the used cartridge, if required
Check the colour and cartridge code before opening the package. Once an old cartridge has been removed, install the replacement promptly so that the printhead is not left exposed for longer than necessary.
Keep cartridges away from children. If ink contacts your skin, wash it with soap and water. If it gets into your eyes, rinse them immediately with water and seek medical advice if irritation continues.
Understanding the XP-2200 Ink Light
The XP-2200’s ink light tells you which replacement procedure to use.
| Ink-light status | Meaning | What to do |
|---|---|---|
| Ink light is on | One or more cartridges are empty | Press the Stop button to identify the cartridge |
| Ink light is flashing | One or more cartridges are running low | Hold Stop for 10 seconds if you want to replace one now |
| Ink light is off | The printer has not reported low or empty ink | Hold Stop for 10 seconds to replace a cartridge early |
The Stop button is marked with a triangle inside a circle. Do not confuse it with the power, Wi-Fi or copy buttons.
How to Change Ink in an Epson XP-2200 When the Ink Light Is On
Use this procedure when the ink light remains steadily illuminated, indicating that at least one cartridge is empty.
Step 1: Switch on the printer
Press the power button and wait until the printer finishes starting. Do not begin while the power light is flashing because the printer may still be processing another operation.
Step 2: Open the scanner unit
Keep the document cover closed and lift the complete scanner unit. Take care not to trap your fingers.
Do not touch the flat white cable inside the printer, and never force the cartridge holder sideways by hand.
Step 3: Press the Stop button
Press the Stop button once. The cartridge holder moves so that the empty cartridge aligns with the replacement indicator.
This is an identification position, not the removal position. Do not try to pull out the cartridge yet.
Step 4: Check for additional empty cartridges
If more than one cartridge needs replacing, press the Stop button again. Each press moves the next affected cartridge to the indicator.
After every empty cartridge has been identified, press Stop again. The holder then moves to the cartridge-replacement position where the cartridges can be removed safely.
Step 5: Prepare the new cartridge
Preparation differs by colour:
- Black cartridge: Before opening the package, gently shake it four or five times. Then remove it from the package.
- Cyan, magenta or yellow cartridge: Remove it from the package without shaking it.
Do not shake any cartridge after opening its package because ink may leak.
Remove only the yellow protective tape specified by the cartridge instructions. Do not remove other labels or seals. Avoid touching the electronic chip or ink outlet because fingerprints, dirt or damage may interfere with cartridge recognition or ink flow.
Step 6: Remove the old cartridge
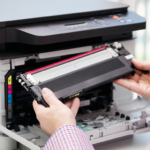
Squeeze the release tab on the cartridge and pull it straight upwards. If it feels tight, keep the tab pressed and pull firmly but carefully.
Do not dismantle, refill or squeeze the used cartridge. Place it aside carefully to avoid transferring ink onto furniture or clothing.
Step 7: Install the replacement
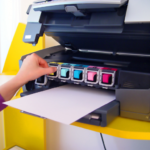
Match the new cartridge to the correct colour position. Insert it into the holder and press it down firmly until it clicks into place.
The cartridge should sit level with the cartridges beside it. If it remains raised, remove it, check for packaging material and reinstall it without using excessive force.
Step 8: Close the scanner unit
Lower the scanner unit carefully. Make sure it is fully closed before continuing.
Step 9: Start ink charging
Press the Stop button. The printer moves the cartridge holder back to its normal position and begins charging the ink.
The power and ink lights may flash during this process. Charging takes approximately two minutes. Do not switch off or unplug the XP-2200 while the lights are flashing because incomplete charging may prevent normal printing and can waste ink.
When charging is complete, the power light should stop flashing and remain on.
How to Replace a Cartridge When the Ink Light Is Flashing
A flashing ink light means that one or more cartridges are running low but may not yet be completely empty.
If you want to replace the low cartridge:
- Switch on the printer.
- Open the scanner unit with the document cover closed.
- Hold the Stop button for approximately 10 seconds.
- The cartridge holder moves to the indicator position.
- Note which cartridge is aligned with the indicator.
- Press Stop again to check whether another cartridge is low.
- Continue until the holder moves to the replacement position.
- Prepare, remove and install the appropriate cartridge using the instructions above.
- Close the scanner unit.
- Press Stop to begin ink charging.
Do not remove a cartridge merely because you think it may be low. Use the indicator position or Epson software to identify the affected colour first.
How to Replace an Epson XP-2200 Cartridge Before It Is Empty
You may want to replace a cartridge early if print quality has deteriorated, a cartridge appears damaged or you need a fuller cartridge before a large printing task.
When the ink light is off:
- Switch on the XP-2200.
- Open the scanner unit while keeping the document cover closed.
- Hold the Stop button for approximately 10 seconds.
- Wait for the cartridge holder to move to the replacement position.
- Prepare the new cartridge correctly.
- Press the release tab and lift out the cartridge being replaced.
- Install the new cartridge in the matching colour slot until it clicks.
- Close the scanner unit.
- Press Stop to begin ink charging.
- Wait until the power light stops flashing.
If you start this process accidentally, leave the cartridges installed and switch off the printer using its power button to cancel the replacement procedure.
Can You Replace Only One Colour?
Yes. The XP-2200 uses separate black, cyan, magenta and yellow cartridges, so you can replace only the empty or affected colour.
Cynopack supplies the following individual high-capacity replacements:
- Compatible Epson 604XL black ink cartridge
- Compatible Epson 604XL cyan ink cartridge
- Compatible Epson 604XL magenta ink cartridge
- Compatible Epson 604XL yellow ink cartridge
If several colours are low, the compatible Epson 604XL four-colour multipack includes black, cyan, magenta and yellow.
Can You Mix Epson 604 and 604XL Cartridges?
The XP-2200 can generally use standard 604 and high-capacity 604XL cartridges together because they belong to the same Pineapple family. For example, you could install 604XL black alongside standard-capacity 604 colour cartridges.
Each installed cartridge must be:
- From the correct Epson 604 or 604XL family
- Suitable for the XP-2200
- Installed in the matching colour slot
- Seated correctly and recognised by the printer
XL describes the higher ink capacity; it does not indicate a different cartridge slot. Read Epson 604 vs 604XL: What Is the Difference? for a detailed capacity and value comparison.
Publishing note: If the comparison article is not yet live, display its title as plain text and activate the link after publication.
What to Do After Installing New Cartridges
Once the charging cycle has completed:
- Confirm that the ink light has turned off.
- Print a simple test document.
- If colours or lines are missing, print a nozzle-check pattern.
- Run printhead cleaning only if the nozzle check shows blocked nozzles.
- Print another nozzle check after cleaning.
Avoid running repeated cleaning cycles without checking the result. Printhead cleaning consumes ink, and several consecutive cycles may not resolve a problem caused by an incorrectly installed cartridge, unsuitable paper or incorrect print settings.
How to Print a Nozzle Check on the XP-2200
The XP-2200 can print a nozzle-check pattern without using a computer:
- Load A4 plain paper.
- Switch off the printer.
- Hold down the Stop button.
- While holding Stop, press the power button to switch on the printer.
- Release the buttons once the printer begins the operation.
- Examine the printed pattern for gaps or missing lines.
If the pattern is complete, the printhead nozzles are working normally. If sections are missing, perform one printhead-cleaning cycle and check again.
How to Run Printhead Cleaning
To start cleaning from the printer’s control panel:
- Make sure the printer is switched on and no error lights indicate another problem.
- Hold the Stop button for about five seconds until the power light starts flashing.
- Release the button and wait for cleaning to finish.
- Do not turn off the printer while the power light is flashing.
- Print another nozzle-check pattern.
Only run cleaning when the nozzle check indicates that it is needed. If print quality remains poor after a small number of cleaning attempts, stop and allow the printer to rest before trying again or consulting Epson’s support guidance.
New Epson XP-2200 Cartridge Not Recognised
If the ink light stays on or the computer displays a cartridge error after installation, work through these checks in order.
1. Confirm the cartridge family
Check that the replacement is Epson 604 or 604XL Pineapple and explicitly supports the XP-2200. A similar-looking 603XL cartridge will not work.
2. Check the colour position
Make sure black, cyan, magenta and yellow are installed in their labelled slots. A cartridge placed in the wrong position cannot operate correctly.
3. Check the protective tape
Confirm that the specified yellow tape has been removed. Do not remove any other seals or labels.
4. Reseat the cartridge
Move the holder into the replacement position using the correct Stop-button procedure. Remove the affected cartridge and reinstall it firmly until it clicks and sits level.
5. Inspect the chip
Look for protective material, dirt or visible damage on the cartridge’s electronic chip. Do not scratch it or clean it with liquid. Avoid touching it with your fingers.
6. Complete a safe restart
Close the printer and allow any current operation to finish. Switch it off using the power button, wait until all lights go out, pause for about 30 seconds and switch it on again.
Do not unplug the printer while its power light is flashing, and do not attempt an unofficial firmware downgrade.
7. Request support if the problem continues
If a new Cynopack cartridge remains unrecognised, contact Cynopack with:
- Your order number
- Printer model: Epson XP-2200
- The affected cartridge colour
- A photograph of the cartridge label
- A photograph or exact wording of the error
- Confirmation that the cartridge has been reseated
This information helps determine whether the issue concerns installation, compatibility or the cartridge itself.
Common Mistakes to Avoid
- Ordering Epson 603XL instead of Epson 604XL
- Moving the cartridge holder manually
- Trying to remove a cartridge while it is at the indicator rather than replacement position
- Shaking cyan, magenta or yellow cartridges
- Shaking a black cartridge after opening its package
- Removing labels or seals other than the specified yellow tape
- Touching the electronic chip or ink outlet
- Installing a cartridge in the wrong colour slot
- Failing to press the cartridge down until it clicks
- Switching off the printer during ink charging
- Running repeated cleaning cycles before checking the installation
Frequently Asked Questions
What ink does the Epson XP-2200 use?
The Epson XP-2200 uses standard 604 or high-capacity 604XL Pineapple cartridges in black, cyan, magenta and yellow.
How do I move the cartridge holder on an Epson XP-2200?
If the ink light is on, press the Stop button to identify the empty cartridge, then continue pressing until the holder reaches the replacement position. If the light is flashing or off, hold Stop for approximately 10 seconds. Never move the holder by hand.
Which button do I press to change ink in the XP-2200?
Use the Stop button, identified by a triangle inside a circle. The required press or hold depends on whether the ink light is on, flashing or off.
Should I shake Epson 604XL cartridges before installation?
Gently shake only the sealed black cartridge four or five times before opening it. Epson’s XP-2200 guidance says to remove the colour cartridges from their packages without shaking them. Do not shake cartridges after opening.
How long does ink charging take?
Ink charging takes approximately two minutes. The lights may flash during the process. Do not switch off or unplug the printer until charging has finished.
Why is the ink light still on after replacing a cartridge?
The cartridge may not be fully seated, may be in the wrong colour slot, may still have protective tape attached or may not be compatible with the XP-2200. Reseat it firmly until it clicks.
Can I replace an XP-2200 cartridge before it is empty?
Yes. When the ink light is off, open the scanner unit and hold the Stop button for about 10 seconds to move the holder into the replacement position.
Can I replace only the black cartridge?
Yes. The printer uses four separate cartridges, allowing you to replace only black or whichever individual colour needs attention.
Can I use 604XL instead of standard 604 ink?
Yes. Both capacities fit the XP-2200. The XL version provides a higher estimated yield and may be more economical for regular printing.
Can I mix genuine and compatible cartridges?
Many printers can operate with a mixture of correctly compatible cartridges, but every installed cartridge must be designed for the XP-2200 and recognised correctly. Ink-level reporting can vary.
Why does the printer not print after the cartridge change?
Allow charging to finish, confirm that the cartridge is recognised and print a nozzle check. If the pattern has gaps, perform one cleaning cycle. Also check for paper or connection errors unrelated to the cartridge.
How should unopened cartridges be stored?
Keep them sealed in their original packaging in a cool, dry place away from direct sunlight and extreme temperatures. Cynopack’s unopened compatible cartridges have a shelf life of up to two years when stored correctly.
Final Checklist
Before closing the printer, confirm that:
- The replacement says 604 or 604XL Pineapple
- The XP-2200 appears in the compatibility information
- Only the specified protective tape has been removed
- Every cartridge is in the correct colour slot
- Each installed cartridge has clicked into place
- The scanner unit is fully closed
- Ink charging has finished before the printer is switched off
Replacing ink in an Epson XP-2200 is simple when the correct cartridge and button sequence are used. Identify the affected colour, move the holder using the Stop button, prepare black and colour cartridges correctly, install the replacement firmly and allow the charging cycle to complete.
For individual colours and multipacks, visit the Epson XP-2200 ink-cartridge landing page or browse the complete compatible Epson 604XL range.