

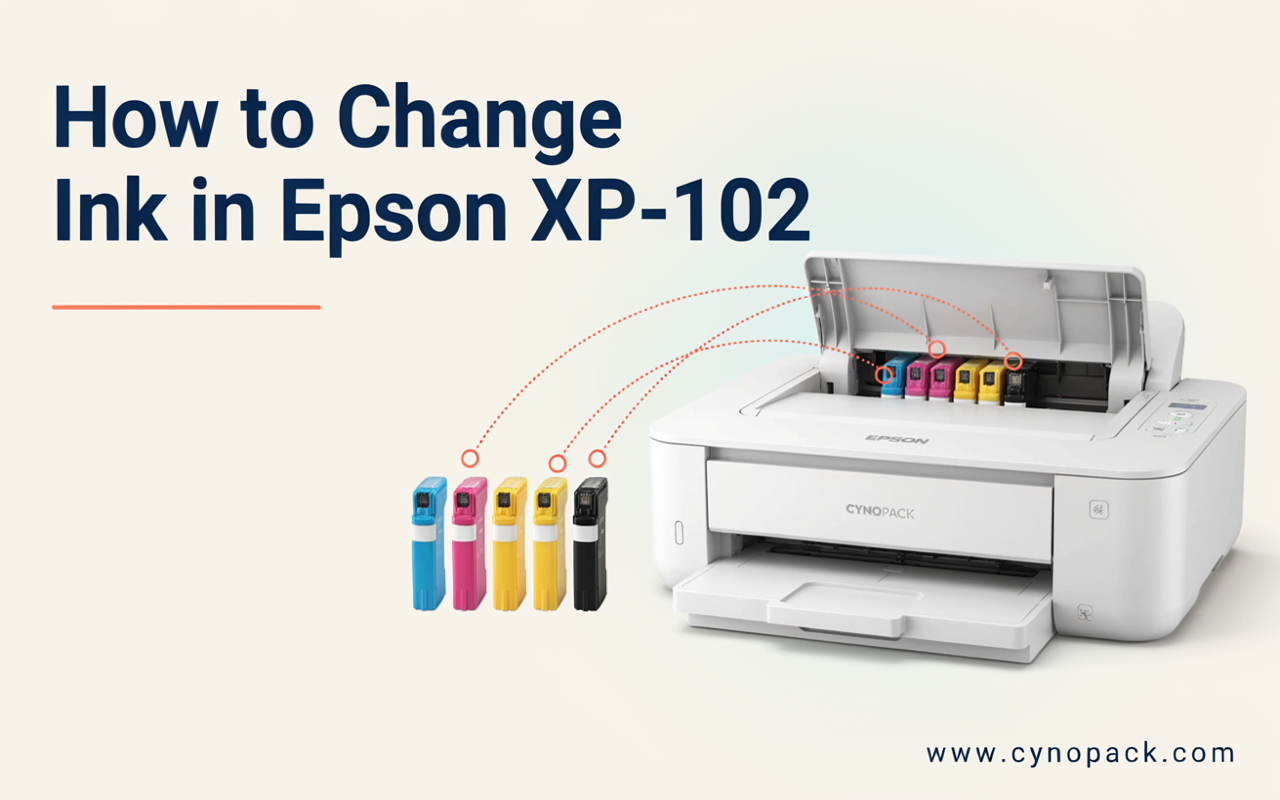
If your Epson Expression Home XP-102 has stopped printing, shows a solid ink light or produces faded pages, one or more ink cartridges may need replacing. The process is straightforward, but the cartridges must be prepared and fitted correctly to avoid recognition errors or poor print quality.
This guide explains how to change ink in an Epson XP-102 step by step. It also covers the correct cartridge numbers, how to identify the empty colour and what to do if the printer does not recognise a new cartridge.
How to Replace Ink Cartridges in an Epson XP-102?
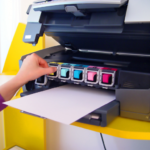
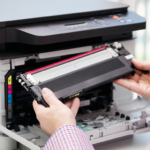
Switch the XP-102 on, lift the scanner unit and press the ink button. The cartridge holder will move so the printer can identify the cartridge that needs replacing. Press the ink button again as required until the holder moves to the replacement position. Squeeze the tab on the empty cartridge and lift it out. Prepare the correct Epson 18 or 18XL replacement, remove the yellow tape, insert it into the matching colour slot and press it down until it clicks. Close the scanner unit and press the ink button to begin charging the ink.
Do not switch off the printer or unplug it while the power light is flashing.
Which ink cartridges does the Epson XP-102 use?
The Epson Expression Home XP-102 uses the Epson 18 and Epson 18XL cartridge family, commonly identified by the Daisy image on the packaging.
| Colour | Standard cartridge | High-capacity cartridge |
|---|---|---|
| Black | Epson 18 Black | Epson 18XL Black |
| Cyan | Epson 18 Cyan | Epson 18XL Cyan |
| Magenta | Epson 18 Magenta | Epson 18XL Magenta |
| Yellow | Epson 18 Yellow | Epson 18XL Yellow |
XL cartridges contain more ink and are intended to provide a higher page yield than the standard versions. They fit the same cartridge slots, so you can use standard and XL cartridges together if necessary.
For all available options, visit the Epson XP-102 ink-cartridge page. If several colours are running low, a T1816 compatible multipack containing black, cyan, magenta and yellow can be more convenient than ordering them separately. If only one colour is empty, choose the corresponding individual Epson 18XL colour cartridge instead.
Internal links to add: link “T1816 compatible multipack” to the exact multipack product page and “individual Epson 18XL colour cartridge” to the individual-cartridge collection or relevant products.
Always confirm both the printer model and cartridge number before ordering. Similar-looking Epson cartridge families are not interchangeable.
What you need before changing the ink
Prepare the following:
- The correct Epson 18 or 18XL replacement cartridge
- A sheet of kitchen roll or scrap paper to protect the surrounding surface
- A few minutes to allow the printer to charge the ink
- Plain A4 paper for a test print or nozzle check
Keep the replacement sealed until you are ready to install it. If it has been stored in a cold place, allow it to reach normal room temperature before use.
Before you remove the old cartridge
Follow these precautions to protect the cartridge and printer:
- Keep the printer switched on during the replacement procedure.
- Do not move the print head or cartridge holder by hand.
- Do not touch the white ribbon cable inside the printer.
- Do not touch the green chip on the replacement cartridge.
- Remove only the yellow sealing tape indicated in the cartridge instructions.
- Do not remove the cartridge label or the transparent seal over the ink outlet.
- Do not leave a cartridge slot empty for longer than necessary.
- Keep cartridges and ink away from children.
There may be ink around the outlet of a used cartridge. Hold it upright and place it on scrap paper after removal.
How to change ink in an Epson XP-102: step-by-step instructions
Step 1: Switch on the printer
Press the power button and wait until the power light is steady. Do not begin while the printer is starting, cleaning its print head or processing a print job.
If a document is waiting to print, cancel it before replacing the cartridge.
Step 2: Open the scanner unit
Lift the complete scanner unit to expose the cartridge holder. Do not lift only the document cover.
Keep your hands clear of the cartridge holder until it has stopped moving.
Step 3: Press the ink button
Press the button marked with the ink-droplet symbol. If a cartridge is empty, the holder moves so the affected colour aligns with the printer’s cartridge-check position.
Look carefully at which cartridge is indicated. If more than one cartridge needs replacing, press the ink button again. The holder will stop at each affected cartridge in turn.
After the printer has identified all affected cartridges, press the ink button again. The holder should move to the cartridge-replacement position, where you can reach the cartridges safely.
Do not push or pull the holder into position manually.
Step 4: Prepare the new cartridge
Check the colour and cartridge number before opening the package.
For an Epson 18 or 18XL black cartridge, gently shake the sealed cartridge four or five times before opening it. The cyan, magenta and yellow cartridges do not need shaking.
Remove the cartridge from its packaging, then remove the yellow sealing tape as directed. Avoid touching the green chip, the small window on the side or the ink outlet.
Step 5: Remove the empty cartridge
Press or squeeze the release tab on the cartridge that needs changing and lift it straight out of its slot. Some resistance is normal, but do not force the surrounding holder.
Place the old cartridge upright on the protective paper. Dispose of or recycle it in accordance with the cartridge supplier’s instructions and local recycling arrangements.
Step 6: Install the new cartridge
Match the new cartridge to the correct labelled colour slot:
Lower the cartridge into its slot and press it down firmly until it clicks into place. Check that it sits level with the other cartridges and is not loose.
Repeat the removal and installation steps for any other cartridges that need changing.
Step 7: Close the scanner unit
Lower the scanner unit carefully. Make sure it closes fully and that nothing obstructs it.
Step 8: Start the ink-charging process
Press the ink button. The XP-102 will begin charging the ink-delivery system, and the power light will flash.
Do not switch off the printer, unplug it or open the scanner unit during this process. Wait until the power light stops flashing and remains steady. Ink charging can take a few minutes and uses a small amount of ink from the installed cartridges.
If the ink light remains on after charging, one of the cartridges may not be seated correctly. Follow the troubleshooting section below.
How to replace an Epson XP-102 cartridge before it is empty
You may want to replace a cartridge early before a long print job or if an installed cartridge is faulty.
With the printer switched on, open the scanner unit and hold the ink button for approximately six seconds, until the cartridge holder begins to move to the replacement position. Do not move the holder by hand. Once it stops, replace the required cartridge using the preparation and installation steps above.
You may also start an early replacement through Epson’s printer utility on a connected computer. In Windows, open the Epson printer preferences and look under the Maintenance or Utility tab for the ink-cartridge replacement option. Available menu names can vary with the driver version.
Avoid removing a working cartridge unnecessarily. Reinstalling a partly used cartridge may consume additional ink, and a cartridge previously reported as very low may not work after reinsertion.
How to check which Epson XP-102 cartridge is empty
The XP-102 does not have a display showing ink percentages, but you can identify the affected colour in two ways.
Use the printer’s ink button
When the ink light is on, open the scanner unit and press the ink button. The holder will move the affected cartridge to the cartridge-check marker. Press the button again to check for additional empty cartridges.
Check ink levels on a computer
On Windows, open Epson Status Monitor 3 through the printer driver’s Maintenance tab. On a Mac, open Epson Printer Utility 4 and select Epson Status Monitor. The displayed levels are estimates rather than exact measurements.
With some compatible cartridges, ink-level information may be displayed differently or may not appear reliably. If the printer shows an empty-cartridge warning, use the printer’s indicator sequence to confirm the affected colour.
What do the XP-102 ink lights mean?
| Ink-light behaviour | Likely meaning | What to do |
| Ink light flashing | A cartridge is running low | Prepare the correct replacement cartridge |
| Ink light continuously on | A cartridge is empty, missing or not recognised | Identify, replace or reseat the affected cartridge |
| Power light flashing after replacement | The printer is charging ink | Wait; do not switch it off |
| Ink light stays on after installation | Cartridge may not be seated or recognised | Remove and reinstall it, checking the chip and sealing tape |
The lights can also indicate other combinations of errors. If the ink and paper lights flash together or alternately, consult the Epson XP-102 support information because the problem may not be a routine cartridge replacement.
Epson XP-102 does not recognise the new ink cartridge
If the message or ink light remains after installation, try the following in order:
- Keep the printer on and reopen the scanner unit.
- Use the ink button to return the holder to the replacement position.
- Remove the affected cartridge.
- Confirm it is an Epson 18 or 18XL cartridge intended for the XP-102.
- Check that the yellow sealing tape has been fully removed.
- Check the green chip for dirt, ink, damage or protective film, but do not touch it unnecessarily.
- Reinsert the cartridge into the correct colour slot and press until it clicks.
- Close the scanner unit and press the ink button to restart ink charging.
If a complete multipack was installed, test the cartridges one at a time if practical. This can help identify which cartridge is causing the recognition error.
Do not repeatedly switch the printer off during installation. If the cartridge remains unrecognised, contact the retailer with the cartridge colour, printer model and any message shown on the computer.
What to do if print quality is poor after changing ink
The first page after a cartridge change may not always be representative. Print a small test document, then run a nozzle check if you see:
- Missing colours
- White lines or gaps
- Faded text
- Horizontal banding
- Incorrect colours
Run a nozzle check through the Epson Maintenance utility. If the pattern contains gaps, perform one print-head cleaning and then print another nozzle check.
Avoid running several cleaning cycles one after another. Head cleaning uses ink from the cartridges, so repeat it only when the nozzle pattern shows that it is necessary. Allowing the printer to rest between attempts can also help with stubborn air or ink-flow issues.
Can the XP-102 print when one colour is empty?
The printer normally requires all four cartridges to be installed. In some circumstances, Epson’s software may allow temporary black-only printing when a colour cartridge is exhausted and black ink remains.
This option is limited, depends on the operating system and print settings, and is intended only as a short-term measure. Replace the empty colour as soon as possible. Even grayscale printing can use small amounts of colour ink depending on the paper type, settings and maintenance operations.
Should you replace one cartridge or buy a multipack?
Choose an individual cartridge when only one colour needs replacing and the other colours still contain plenty of ink.
Choose a T1816 multipack when several colours are low, you print regularly or you want a complete spare set available. A set normally contains one black, one cyan, one magenta and one yellow cartridge.
Whichever option you choose, keep unopened cartridges in a cool, dry and dark place with their labels facing upwards. Do not store them upside down.
Frequently asked questions
What ink does the Epson XP-102 take?
The Epson Expression Home XP-102 uses Epson 18 and 18XL cartridges, identified by the Daisy image. It requires separate black, cyan, magenta and yellow cartridges. The T1816 multipack contains a complete four-colour set.
Can I use Epson 18XL cartridges in an XP-102?
Yes. Epson 18XL cartridges are the high-capacity versions designed for compatible printers including the XP-102. Standard 18 and high-capacity 18XL cartridges fit the same colour slots and can be mixed if each cartridge is compatible.
Do I need to replace every cartridge at the same time?
No. The XP-102 uses four individual cartridges, so you can normally replace only the colour that is empty. A multipack is useful when several colours are low or when you want to keep a full spare set.
Why is the Epson XP-102 ink light still on after replacement?
The cartridge may not be fully clicked into position, the sealing tape may not have been removed correctly or the chip may not be communicating with the printer. Reseat the affected cartridge and confirm that its number and colour are correct.
Should I shake Epson 18XL cartridges before installing them?
Gently shake the sealed black 18 or 18XL cartridge four or five times before opening it. Epson’s XP-102 guidance says the cyan, magenta and yellow cartridges do not need shaking. Never shake an opened cartridge vigorously because ink may leak.
How long does the XP-102 take to charge ink?
Ink charging usually takes a few minutes. The power light flashes during the process. Do not switch off or unplug the printer until the light stops flashing and remains steady.
Can I move the cartridge holder by hand?
No. Always use the ink button or the Epson maintenance utility to move the holder into the replacement position. Forcing it manually may damage the printer.
Why does the printer use colour ink when I print in black?
Depending on the selected paper type and print-quality settings, the printer may combine colour inks to create black or use ink during maintenance. Ink is also consumed during print-head cleaning and cartridge charging.
Final checks after replacing the cartridge
Before returning to normal printing:
- Confirm that the power light is steady.
- Check that the ink-error light has gone out.
- Print a short test page.
- Run a nozzle check only if the test shows gaps or missing colour.
- Keep the remaining cartridges sealed until needed.
Changing ink in an Epson XP-102 should take only a few minutes when you use the correct Epson 18 or 18XL cartridge and allow the ink-charging process to finish. If you need more than one colour, consider the T1816 multipack; if only one has run out, an individual replacement avoids discarding usable ink.